The modern smartphone is not only a communication device but also a personal statement. One way to express individuality and creativity is through DIY phone cases. Personalizing phone cases has gained significant popularity, serving as both a functional accessory and an extension of one’s style. The trend of creating custom phone cases allows individuals to showcase their personality through unique designs and artistic choices.
Undertaking DIY projects fosters a sense of ownership and pride, as the maker is deeply involved in the design process. By transforming a plain phone case into a work of art, users can effectively represent their interests, hobbies, or favorite colors. Additionally, crafting custom cases encourages people to explore their creativity, resulting in innovative designs that set their phone apart in a sea of identical devices.
Creating your own phone case can also be a cost-effective alternative to purchasing expensive pre-made cases. Many commercially available phone cases come at a steep price, often exceeding the budget of budget-conscious consumers. By making a phone case at home, individuals can use materials they already have or find inexpensive supplies, resulting in significant savings without sacrificing style. This approach not only allows for personalization but also encourages sustainability, as repurposing materials contributes to reducing waste.
For those seeking an engaging and enjoyable activity, DIY phone cases present an excellent opportunity to spend time creating something meaningful. Whether crafting for personal use or as gifts, a custom phone case can enhance the owner’s connection to their device. In essence, the world of DIY phone cases offers a platform for self-expression, creativity, and practicality, fundamentally changing the way individuals perceive and interact with their smartphone accessories.
When exploring the realm of DIY phone case projects, the initial step lies in selecting the appropriate clear case that suits your creative aspirations. There exists a variety of clear phone cases in the market, each designed with unique features that cater to custom artwork and personal touches. Primarily, clear phone cases can be categorized into silicone, polycarbonate, and TPU (thermoplastic polyurethane) options.
Silicone cases are often favored for their flexibility and shock absorption, making them excellent for those who want to combine aesthetics with protection. Polycarbonate cases offer a sturdier build, ideal for intricate designs that may require a firmer foundation for detailed painting or embellishment. On the other hand, TPU cases provide a blend of durability and grip, offering a balanced choice for both protection and creative exploration.
In addition to material, it is crucial to consider the thickness of the case. Thinner cases allow for more freedom in terms of design and can easily showcase any custom artwork. However, thicker cases may offer added protection but could limit the extent of customization possible. Furthermore, when selecting a case, ensure that it is compatible with your specific phone model. Many brands provide model-specific cases, ensuring proper fitting and functionality of buttons and ports, which is essential during the customization process.
For durable options that can withstand customization, consider brands known for their high-quality materials and production standards. Cases from well-reviewed manufacturers often provide the ideal platform for DIY endeavors without compromising on the structural integrity. With the right clear case in hand, you are positioned to create a unique, personalized accessory that reflects your individuality.
Embarking on a DIY phone case project can be an exciting and creative endeavor. To successfully personalize a clear phone case, several essential supplies are required to bring your visions to life. The foundation begins with the clear phone case itself, as this serves as the blank canvas for your artistic expression.
Next, various types of glues are critical for securing decorative items onto the case. Craft glue and epoxy are recommended for their strong adhesion properties. Mod Podge is another favorite among DIY enthusiasts, as it can act as both glue and sealant. In terms of paints, acrylic paints are ideal for their versatility and ease of application. They adhere well to plastic surfaces, ensuring that your designs remain vibrant.
To further enhance your creations, decorative items will play a significant role. Consider adding elements such as glitter, which can provide a shimmering effect, or dried flowers, which can introduce a natural and delicate aesthetic. Stickers offer another easy way to customize your phone case, allowing for a quick and delightful spruce-up. Additionally, washi tape can be utilized for adding patterns without the mess of paint.
For those aiming for a glossy finish that protects your artwork, sealants such as spray lacquer or clear acrylic sealant are advisable. They will prolong the life of your design by shielding it from scratches and wear. To gather these supplies, many local craft stores are readily accessible, while numerous online platforms, including Amazon and Etsy, also offer a wide selection of materials.
With the right supplies on hand, you’re one step closer to creating a unique and personalized phone case that reflects your individuality.
Creating a stunning glitter phone case is a fun and imaginative way to add a personal touch to your devices. This guide will walk you through the process of customizing your phone case using glitter, ensuring you achieve a glamorous finish that stands out.
To begin, gather your materials. You will need a plain phone case, fine or chunky glitter in your preferred colors, a strong adhesive (like Mod Podge or clear drying craft glue), and a sealant spray for protection. For an even coverage, apply a thin layer of glue to a small section of your phone case. Avoid over-saturating the area, as this can lead to clumping.
Once the adhesive is in place, gently sprinkle your desired glitter onto the wet glue. It is advisable to use a paper plate or a piece of parchment paper to catch any excess glitter. This will save you time on clean-up and ensure you have enough glitter to achieve the required depth. After applying the glitter, tap the case lightly to release any loose particles, and let it dry completely.
To create unique styles, experiment with different techniques. You may opt for an ombre effect by blending two or more glitter colors or create patterns using tape as a masking guideline. For a more dimensional look, you can layer glitter of varying sizes or mix in some sequins or rhinestones for added flair.
Once you are satisfied with your glitter design and it is fully dry, it is crucial to seal your work to avoid shedding. A clear acrylic spray sealant works well—hold it about 6-12 inches away from the surface and apply evenly. Allow it to dry as per the sealant instructions, usually around 15-30 minutes. This final touch will help maintain the sparkle of your glitter phone case while keeping it intact over time.
By following these steps, you can successfully create your own personalized glitter glam phone case, making a stylish statement wherever you go. Enjoy the creative process and the satisfaction of showcasing a one-of-a-kind accessory.
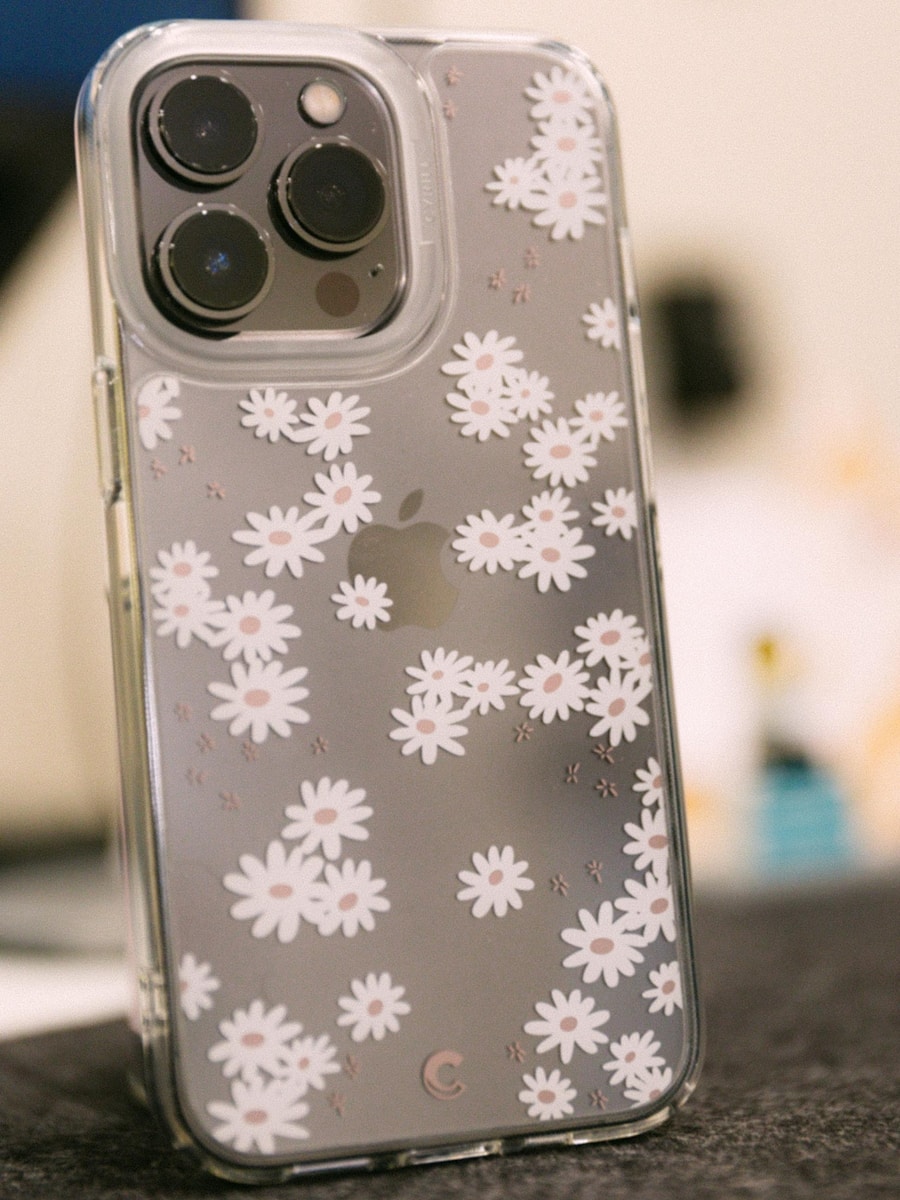
Creating a phone case adorned with dried flowers can infuse your device with a touch of nature and artistry. To begin this creative endeavor, it is vital to select the right flowers. Smaller blooms like violets, daisies, and lavender work well due to their manageable size and intricate details. Additionally, consider the colors; vibrant flowers like marigolds or gentle pastels such as pink roses can contribute to a stunning visual contrast against the backdrop of your case.
Once you have selected your flowers, the next step is to preserve them effectively. Pressing flowers is one of the most popular methods; this can be done by placing your chosen blossoms between the pages of a heavy book or using a flower press. Allow them to dry for at least one to two weeks until they are flat and free of moisture. Alternatively, you may also consider using silica gel, which can speed up the drying process while maintaining the flower’s color invigoratingly.
With your flowers prepared, start applying them to your phone case. A clear silicone case is often the best choice as it showcases the flowers beautifully. Use a clear-drying craft glue to adhere the flowers to the case, applying them in a design you find appealing—perhaps a floral bouquet design or a pattern where flowers are scattered organically. Once adjusted and secured, protecting your floral designs is crucial. A transparent, waterproof sealant can be applied over the flowers to ensure that they remain vibrant and intact, guarding against dust and moisture.
Finally, let your imagination run wild with different flower combinations, styles, and colors to personalize your phone case. Whether you opt for an elegant arrangement or a wildflower-inspired layout, dried flowers offer an enchanting and unique way to showcase your creativity within your everyday accessories.
One of the most meaningful ways to personalize a DIY phone case is by incorporating personal photos. This process not only allows you to showcase cherished memories but also creates a unique design that reflects your personality. There are several methods for doing this effectively, ensuring your photos maintain their quality and style.
The first step involves selecting your favorite images. It’s essential to choose high-resolution photos that won’t appear pixelated when printed. You can seek images from your phone’s gallery, social media accounts, or personal archives. Once you have chosen the images, you will need to resize them to fit your phone case properly. Most phone cases have specific dimensions, so use photo editing software to crop and adjust the image size. Keep in mind that it’s best to leave some margin around the edges to accommodate any slight misalignments during application.
Next, the printing process is crucial. For best results, print the images on durable photo paper using an inkjet printer. Ensure the colors are vibrant and true to life by performing test prints beforehand. Once printed, allow the images to dry completely to prevent smudging. You can opt for matte or glossy finishes depending on your aesthetic preference.
After printing, affixing the photo to the phone case is the next step. Using a strong adhesive or Mod Podge can provide a solid bond. Apply a thin layer of adhesive to the back of the photo and press it firmly onto the case. Be cautious to eliminate any air bubbles as you smooth it out. To enhance protection against damage, consider sealing the photo with a few layers of Mod Podge, ensuring it is fully dry between coats. This will make your phone case not only beautiful but also durable, keeping your precious memories safe for years to come.
Using stickers to personalize your phone case is an enjoyable and straightforward way to showcase your individuality. With endless options available, stickers not only provide a quick fix for a plain phone case but also allow for creativity and expression. You can find unique sticker designs at a variety of sources, including local craft stores, online marketplaces like Etsy, or even by printing your own images on sticker paper.
When arranging your stickers, consider the visual impact you want to achieve. A harmonious layout often results from balancing large stickers with smaller accents. Start by placing your focal piece and gradually build around it, ensuring there is sufficient spacing for each element to breathe. You could opt for a themed approach, such as favorite hobbies or seasonal motifs, to create a cohesive look. For instance, during the winter holidays, incorporating snowflakes, festive icons, or even holiday quotes can add a joyful touch to your device.
Once you have creatively arranged your stickers, it is essential to protect your artwork from wear and tear. Utilize sealer products such as clear acrylic spray or Mod Podge to secure your stickers onto the phone case. These sealants not only enhance the durability of the stickers but also add a professional finish, ensuring your design stays vibrant over time. Applying a light coat of sealer can create a glossy effect that elevates the overall appearance of your customized phone case.
In summary, personalizing your phone case with an array of stickers allows for a unique expression of style and interests while also being a fun DIY project. With a focus on thoughtful arrangement and protection methods, you can create a phone case that not only stands out but also reflects your personality brilliantly.
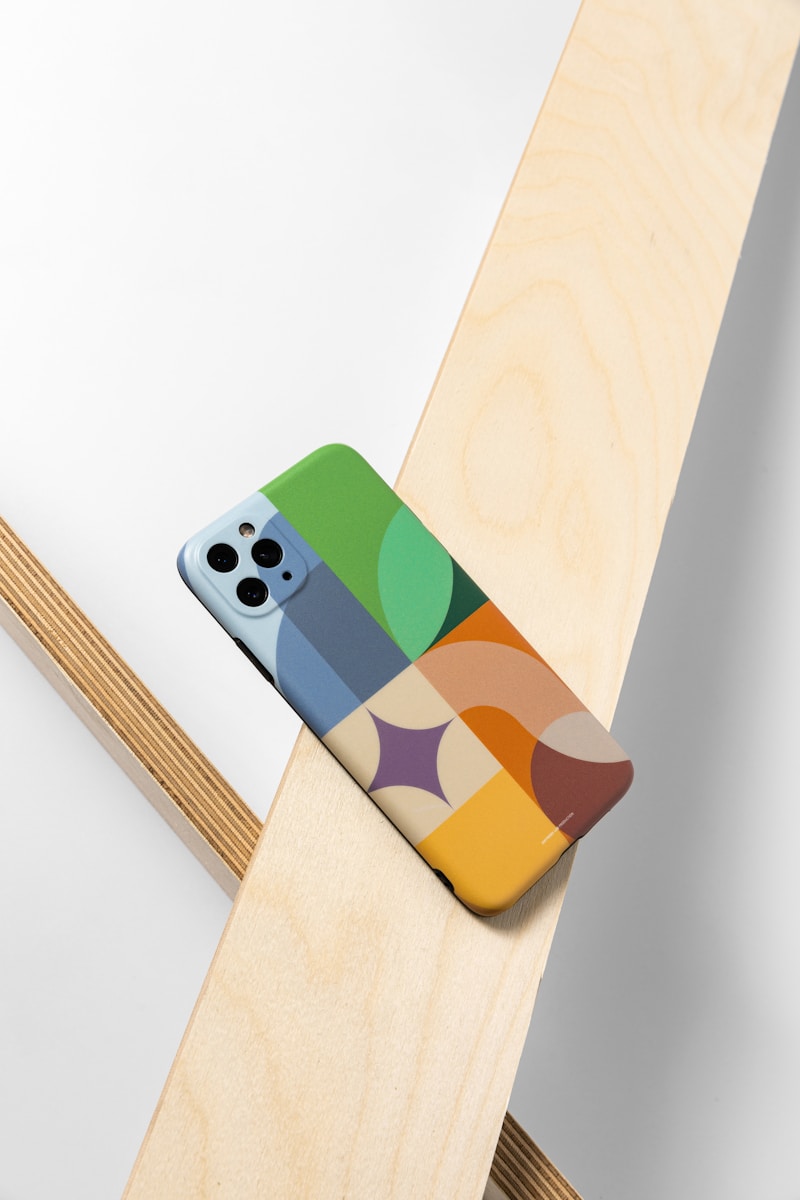
Transforming a simple phone case into a personalized accessory can be an enjoyable and rewarding process. One effective way to achieve this is by incorporating creative decals and utilizing various painting techniques. Whether you are a novice or have some experience, the right approach can lead to stunning results that reflect your unique style.
When it comes to sourcing decals, there are various options available. Numerous online platforms offer a plethora of stickers and decals that can be used for this purpose. Look for high-quality vinyl decals which are not only durable but also easy to apply. Additionally, consider creating your own decals using printable adhesive sheets. This allows for complete customization, enabling you to design anything from intricate patterns to simple graphics tailored to your taste.
Once you have your decals, it’s time to explore painting techniques that can further enhance your phone case. A popular method is stenciling, where you can create crisp, clean designs by applying a pre-made stencil and carefully painting around it. This technique ensures precision and can produce professional-looking results. Alternatively, if you prefer a more spontaneous approach, freehand painting offers the opportunity to express your creativity without limitations. Using acrylic paints or specialized paints designed for plastic surfaces, you can experiment with colors and techniques to create a unique masterpiece.
For the best results, prepare your phone case by cleaning it thoroughly and waiting for it to dry before applying any decals or paint. This guarantees that your designs will adhere properly and remain vibrant over time. Always follow up with a clear acrylic sealant to protect your artwork from wear and tear. With these techniques at your disposal, custom phone cases can become an extension of your personality and a fun craft project.
When customizing your phone case, it is crucial to employ non-damaging methods to preserve the integrity of both the case and your device. Selecting the appropriate materials is the first step in ensuring your designs remain intact while avoiding potential harm. Non-toxic adhesives, such as PVA glue or specialized fabric glues, are excellent choices for affixing decorative elements without compromising the material quality of plastic or silicone cases.
Another effective option is to opt for removable double-sided tape, which allows for temporary embellishments. This method is especially advantageous for those who wish to frequently change their designs without impacting the case’s surface. For those looking to create durable designs, using acrylic paint or markers is a great choice, as they tend to adhere well without cracking or peeling when properly sealed.
Sealing your design is essential in maintaining its vibrancy and longevity. Clear acrylic sealers provide an effective barrier against scratches and smudges while preventing the ink from running or fading. Ensure that the sealant is compatible with your chosen materials and follow the manufacturer’s guidelines for application. Moreover, performing regular maintenance can prolong the life of your customized phone case. Gently clean it with a soft cloth and mild soap to keep the design looking fresh, avoiding harsh chemicals that may dull or damage the finish.
It is important to express your creativity with confidence, knowing that you can achieve impressive results without harming your phone or case. Experiment with different methods and materials until you find the perfect combination that represents your personal style. Once you finish your project, be encouraged to share your final creations with friends or on social media platforms to inspire others in their own customization journeys.